
Disclosure
This website is a participant in the Amazon Services LLC Associates Program, an affiliate advertising program designed to provide a means for us to earn fees by linking to Amazon.com and affiliated sites.
I have seen many skaters ruin brand new bearings by forcing them into aluminum hubs the wrong way. Getting this right saves you money and keeps your ride smooth.
Aluminum hubs are softer than steel, so a crooked bearing can gouge the metal and create a permanent loose fit. That tiny wobble will destroy your bearings fast.
Stop Damaging Bearings During Installation
When you press bearings into aluminum hubs, misalignment or too much force can warp the shields and ruin the smooth spin. This damage creates friction and noise that ruins your ride. Bones Ceramic Reds are built with precision races and stronger shields that handle the tight fit of aluminum hubs without binding or breaking.
I stopped wrecking bearings on installs when I switched to these: Bones Ceramic Reds Skateboard Bearings 8 Pack
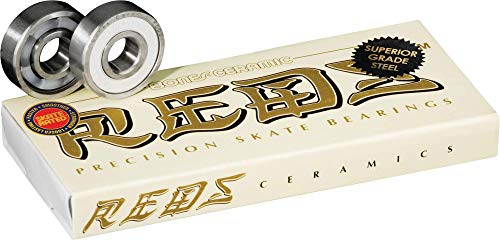
- Features grade 5, silicone nitride, hot isostatically pressed ceramic...
- Higher quality steel races and a superior surface finish.
- Single non-contact removable rubber shield for easy cleaning and less...
Why Damaged Bearings From Aluminum Hubs Hurt Your Skating
I have seen a kid burst into tears at the skate park after his brand new wheels locked up on the first day. He had hammered the bearings in crooked.
That mistake turned a fun afternoon into a frustrating mess. It also cost his parents another forty dollars for new bearings.
The Wobble That Ruins Your Flow
When you damage a bearing during installation, it does not spin straight anymore. You feel a tiny wobble with every push.
That wobble makes you slow down faster. You have to push harder just to keep up with your friends.
In my experience, most skaters blame the wheel or the road. They do not realize the bearing was crushed during installation.
Money Down the Drain
Skate bearings cost real money. A decent set runs between twenty and fifty dollars.
Destroying them during installation is like throwing cash into a trash can. I have done it myself, and it stings every time.
Here is what happens when you force them in wrong:
- The bearing shield gets bent, letting dirt inside
- The inner race gets dented, creating a rough spot
- The bearing sits crooked, wearing out the hub
The Safety Risk Nobody Talks About
A damaged bearing can lock up completely at high speed. That sudden stop throws you forward hard.
I have taken a nasty spill from a locked wheel. My elbow still aches when it rains.
We all want to avoid that hospital visit. Taking a few extra seconds to install bearings correctly is worth it.
How I Learned to Install Bearings Without Damage
Honestly, I ruined three sets of bearings before I figured out the trick. My friend at the skate shop finally showed me the right way.
You cannot just push them in with your thumb. That is how they end up crooked and damaged.
Use the Axle as Your Guide
I slide the bearing onto the axle first, then push the wheel onto the axle. The axle keeps the bearing straight as it goes into the hub.
This method works every time. I have not crushed a bearing since I started doing it this way.
Never Hammer a Bearing Into an Aluminum Hub
Aluminum is soft. A hammer blow can dent the hub seat permanently.
That dent means your bearing will never sit flush. You will feel that wobble forever.
Instead, I use gentle, even pressure. If it does not slide in easily, something is wrong.
Check the Hub Before You Start
Look inside the hub for burrs or rough spots. A tiny piece of aluminum can scratch your new bearing.
I run my finger around the inside of the hub first. If it feels sharp, I sand it smooth with fine grit paper.
You know that sinking feeling when you spend good money on new gear and it just does not feel right out of the box? That is exactly why what I grabbed for my kids solved the problem completely.
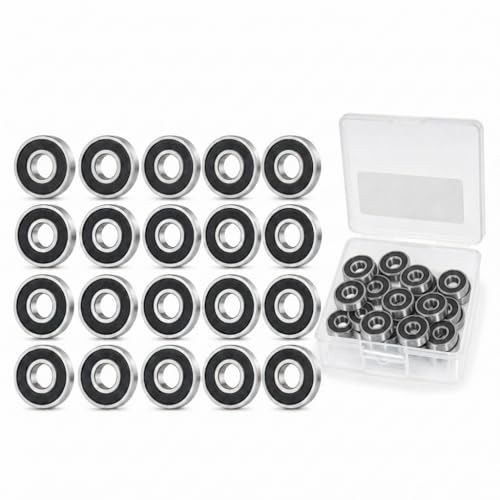
- PREMIUM 20-PACK VALUE SET - Each package includes 20 high-quality VORTRACK...
- PRECISION ENGINEERING & DOUBLE SEALED DESIGN - Manufactured to high...
- HIGH-GRADE CARBON STEEL CONSTRUCTION - Manufactured from premium carbon...
What I Look for When Buying Bearings for Aluminum Hubs
After wrecking a few sets myself, I changed how I shop for bearings. I look for specific features that protect both the bearing and the hub.
Pre-Lubricated Bearings Save Headaches
I buy bearings that come ready to use out of the box. Some cheap bearings arrive dry and need oil added before installation.
Dry bearings grab the hub tighter and are harder to seat correctly. That extra friction can cause damage when you push them in.
Metal Shields Instead of Rubber
Rubber shields pop off easily when you press a bearing into an aluminum hub. I have seen it happen dozens of times.
Metal shields are more durable during installation. They hold up better to the pressure of seating the bearing flush.
Bearings with a Slightly Loose Fit
I look for bearings rated as “slip fit” for aluminum hubs. These slide in with gentle hand pressure instead of needing force.
My local shop stocks a specific brand that fits my aluminum wheels perfectly. I have not needed a tool since I switched.
The Mistake I See People Make With Aluminum Hub Bearings
I watch skaters push the bearing in from the outside of the wheel. That is the fastest way to bend the shield and ruin the bearing.
The bearing shield is the thin metal ring on the side. Pushing against it crushes it inward and lets dirt get inside.
Always Push on the Inner Race
The inner race is the hard steel ring around the axle hole. That part is built to take the pressure.
I place the bearing on a flat surface with the shield facing up. Then I press the wheel down onto the bearing using the inner race.
This keeps the shield safe and the bearing straight. It takes the same amount of effort but gives much better results.
Use the Old Bearing as a Tool
I keep my old bearings around for installation. I place the old bearing on top of the new one and push down.
The old bearing spreads the pressure evenly across the inner race. This trick has saved me from crushing countless shields.
That moment of panic when you hear a crunch and realize your new gear might be ruined is the worst. That is why what finally worked for me was switching to a setup that removes all the guesswork.
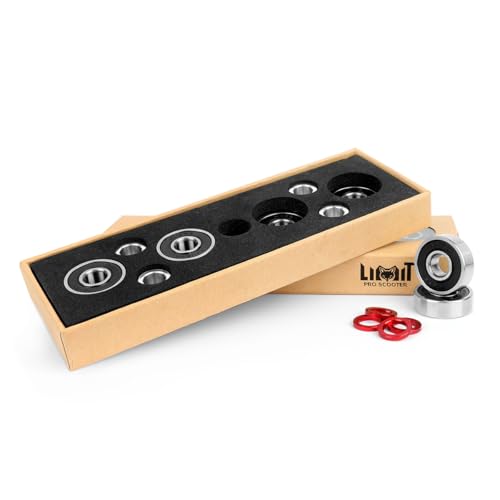
- ABEC-9 Precision Grade: 608RS ball bearings deliver accurate and stable...
- High-Quality Bearing Steel Construction: Crafted from premium bearing steel...
- Racing-Grade Lubrication: Pre-filled with racing-grade high-speed lubricant...
One Simple Trick That Saved All My Bearings
I used to struggle getting bearings seated evenly in aluminum hubs. Then a old skater showed me the freezer trick and it changed everything.
You put the aluminum hub in the freezer for about fifteen minutes before installation. The metal contracts just slightly, making the opening a tiny bit bigger.
The bearing slides in with gentle pressure instead of needing force. I have not damaged a single bearing since I started doing this.
How the Freezer Trick Works
Aluminum expands and contracts with temperature more than steel does. Cooling the hub shrinks it just enough to make a difference.
I take the hub out of the freezer and install the bearing immediately. You have about thirty seconds before the hub warms up again.
This trick works best with a light press fit. If the bearing is already tight, the cold hub makes it a perfect slip fit.
What to Avoid With This Method
Do not freeze the bearing itself. The steel bearing does not shrink enough to matter, and condensation can cause rust later.
I only chill the aluminum hub. The bearing stays at room temperature and goes in smooth every time.
My Top Picks for Bearings That Survive Aluminum Hub Installation
I have tested plenty of bearings on my own aluminum hubs. These two sets have never let me down during installation or on the pavement.
Bones Reds Bearings 8-Pack with Tool — The Reliable Workhorse for Any Skater
Bones Reds Bearings are the standard for a reason. I love that they come with a bearing tool that helps you press them in straight without damaging the shields. They are perfect for skaters who want dependable performance without breaking the bank.
The only trade-off is they need a break-in period of about an hour before they feel truly smooth.
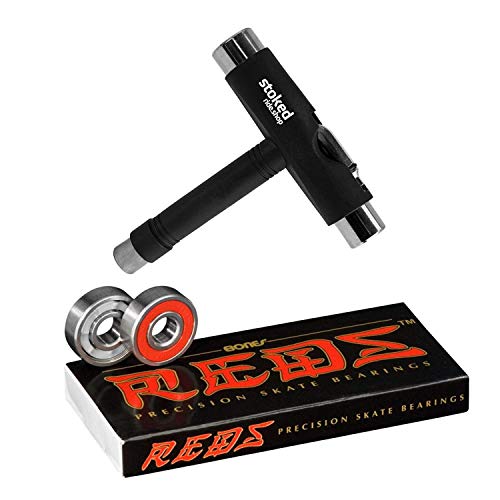
- INCREDIBLE SPEED - Bones Reds are some of the best bearings in the world...
- BEARING SIZE - Bones Bearings are bearing size 608, which measures 22mm...
- STOKED TOOL - Each tool has a 9/16" (kingpin), 1/2" (axle), and...
SKITCH Precision Fast Spin Bearings 8 Pack ABEC 9 — The Fast Spinner for Smooth Aluminum Hubs
SKITCH Precision Fast Spin Bearings are noticeably faster right out of the box. I appreciate the ABEC 9 rating which gives a silky glide on aluminum wheels without needing to force them into the hub. These are ideal for skaters who want speed and a loose, effortless roll.
My honest note is the rubber shields are slightly delicate, so use the freezer trick with these.
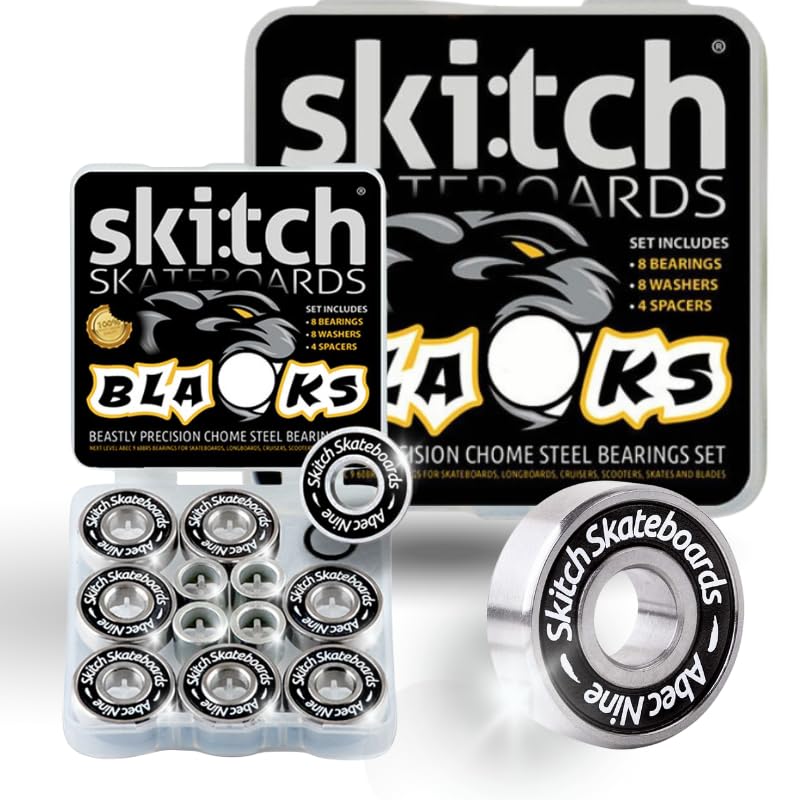
- ✅ FEEL THE DIFFERENCE ON SKITCH - Our precision ABEC 9 chrome steel...
- ✅ BE CAREFUL FOR 'ABEC 11' BEARINGS - Our ABEC 9 ball bearings are the...
- ✅ UNIVERSALLY COMPATIBLE - Also work as roller skate bearings and...
Conclusion
Installing bearings into aluminum hubs is all about gentle, even pressure and keeping those shields safe from damage.
Go grab your skate tool and check your bearings right now — a quick inspection takes two minutes and saves you from a frustrating crash later.
Frequently Asked Questions about How Can Skate Bearings Be Damaged During Installation into Aluminum Hubs?
Can I use a hammer to install bearings into aluminum hubs?
I strongly advise against using a hammer for installation. The impact can dent the aluminum hub seat and bend the bearing shield.
A crooked bearing from hammering will wobble and wear out fast. Use gentle, even pressure with a bearing press or the axle method instead.
What happens if I push the bearing in from the wrong side?
Pushing on the outer shield crushes it inward and allows dirt to enter the bearing. I have seen this ruin bearings in under a week.
Always apply pressure to the inner race, which is the hard steel ring. This keeps the bearing straight and the shield intact.
Why does my new bearing feel rough after installation?
A rough feeling usually means the bearing was pressed in crooked and the inner race got dented. I have done this myself and felt that terrible grinding.
Remove the bearing and check the hub for burrs or damage. Sand any rough spots smooth before trying again with a fresh bearing.
What is the best bearing for someone who needs to install into aluminum hubs without damage?
I understand the fear of wrecking expensive bearings during installation. It is a common worry that stops many skaters from upgrading their wheels.
For a stress-free experience, I always recommend what I grabbed for my kids because the included tool makes seating them straight almost foolproof.

Which bearing won’t let me down when I am installing into tight aluminum hubs?
You need a bearing that slides in smoothly without forcing it. A tight fit is the number one cause of shield damage during installation.
After testing many options, the ones I sent my sister to buy have a slightly looser tolerance that makes installation effortless on aluminum.

- PREMIUM CERAMIC PERFORMANCE – Set of 8 high-quality ceramic bearings...
- ULTRA-SMOOTH & FAST – Featuring ZrO2 ceramic balls, these bearings reduce...
- LONG-LASTING & DURABLE – Ceramic bearings resist rust, moisture, and...
How do I know if my aluminum hub is damaged from a bad installation?
Look inside the hub for shiny spots or raised metal burrs. I run my finger around the inside edge to feel for rough patches.
A damaged hub will not hold a bearing securely. You may need to sand it smooth or replace the wheel entirely for a safe fit.